Open the sign-up page
Go to the application address and choose Create a workspace. On the left you see what the system covers, from leads and quotations to payments and reports. The form is on the right.
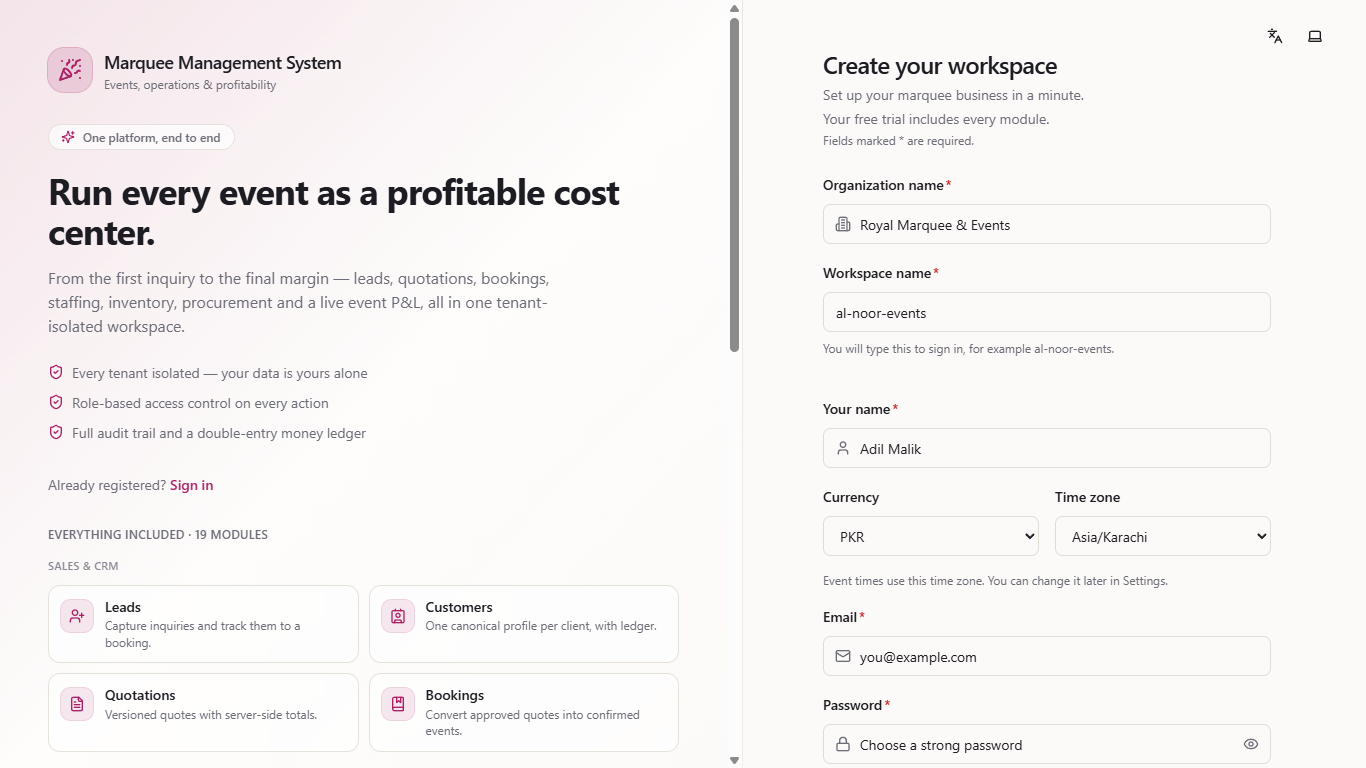
Open your own workspace for your marquee or banquet business in a few minutes and land on a dashboard that already has roles, a price list and a checklist to get you started.
Go to the application address and choose Create a workspace. On the left you see what the system covers, from leads and quotations to payments and reports. The form is on the right.
Type your Organization name, for example Al-Noor Marquee & Events. The Workspace name fills in by itself from the name and shows Available when nobody else uses it; change it if you prefer something shorter. Enter Your name, choose the Currency and Time zone, then your Email, a Password and the same password again in Confirm password. Tick the box to accept the Terms of Service and Privacy Policy.
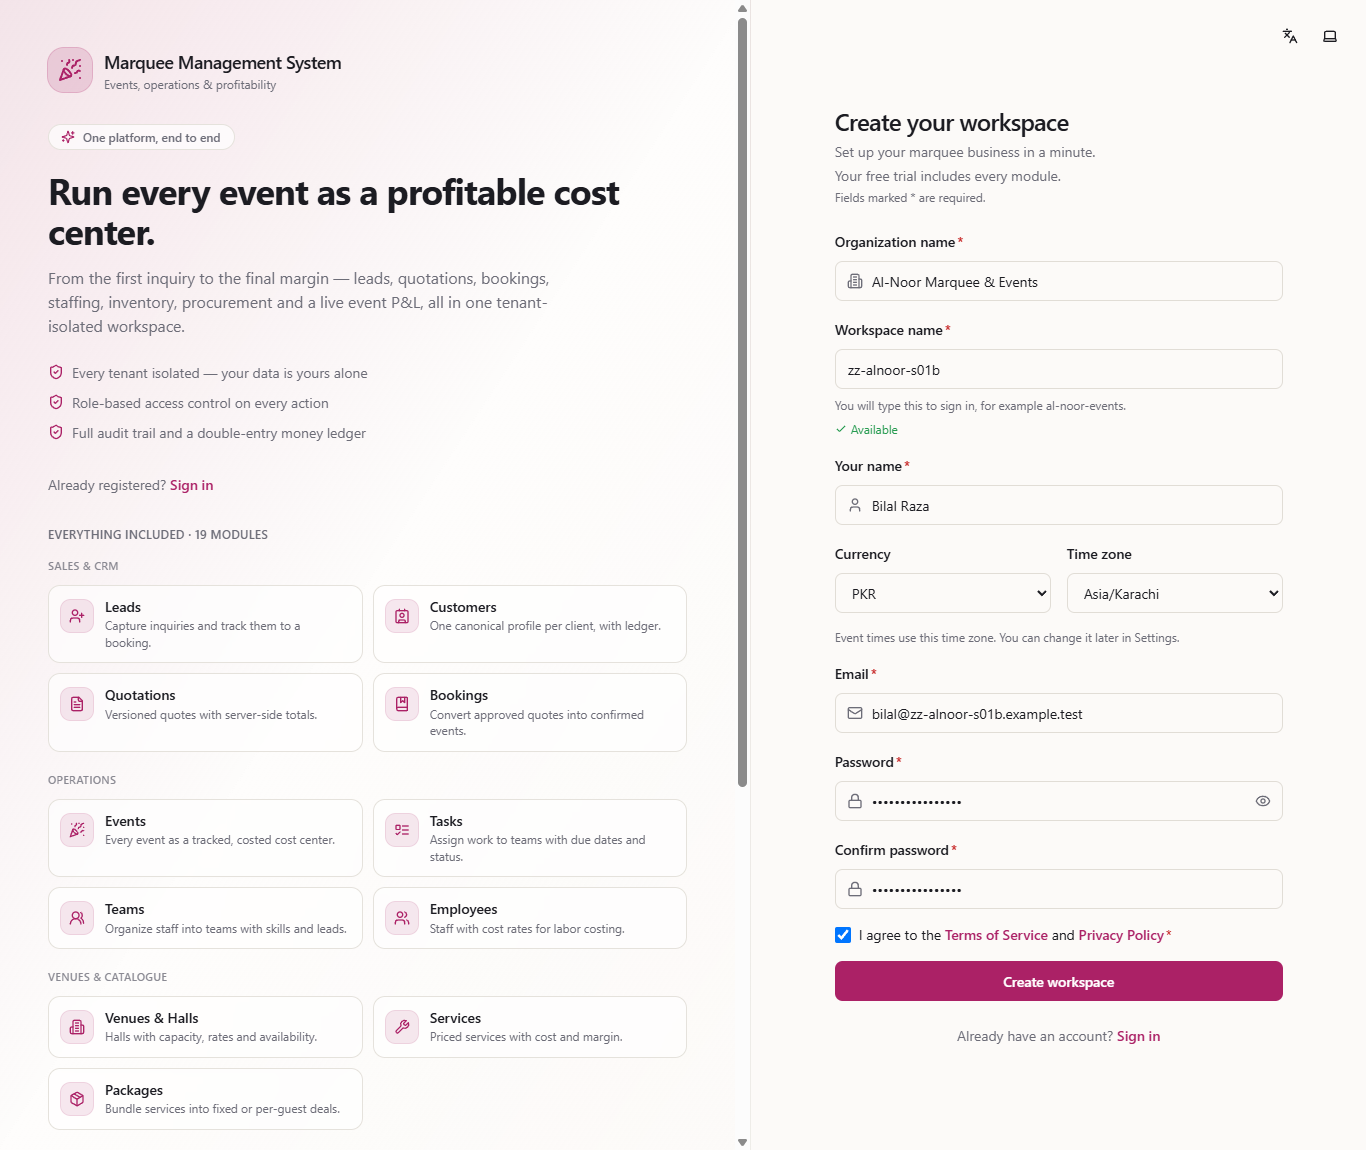
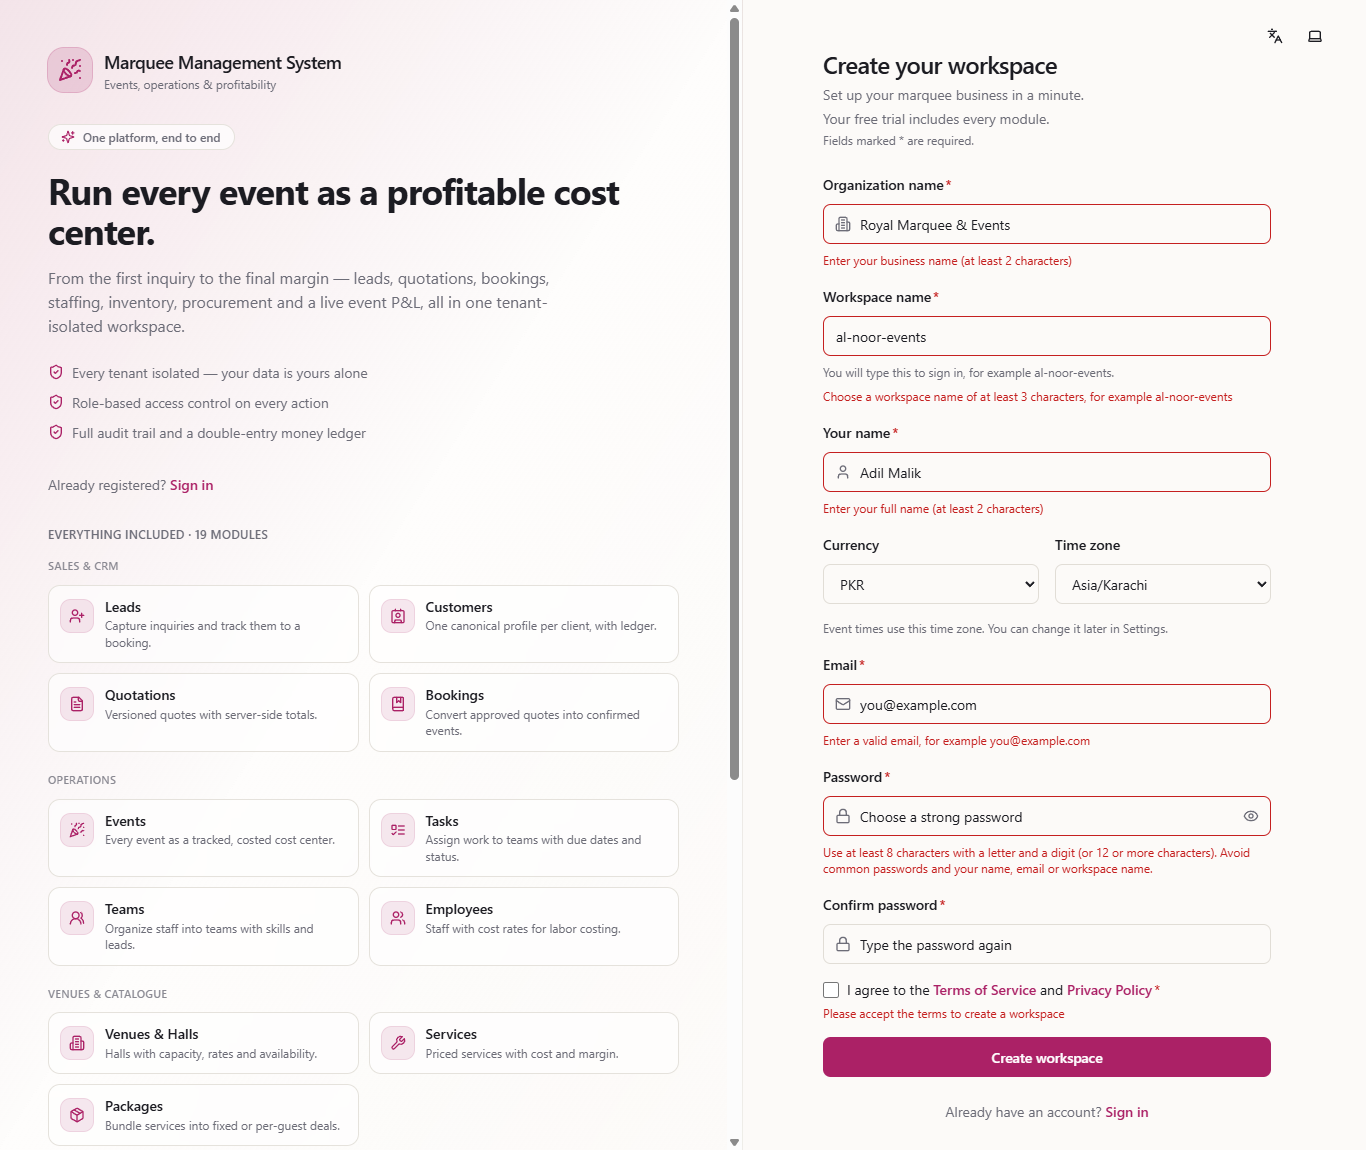
If something is missing, a red line under the field says what to fix, for example Enter a valid email, for example you@example.com. A weak password, two passwords that do not match, or an unticked terms box are flagged before anything is created.
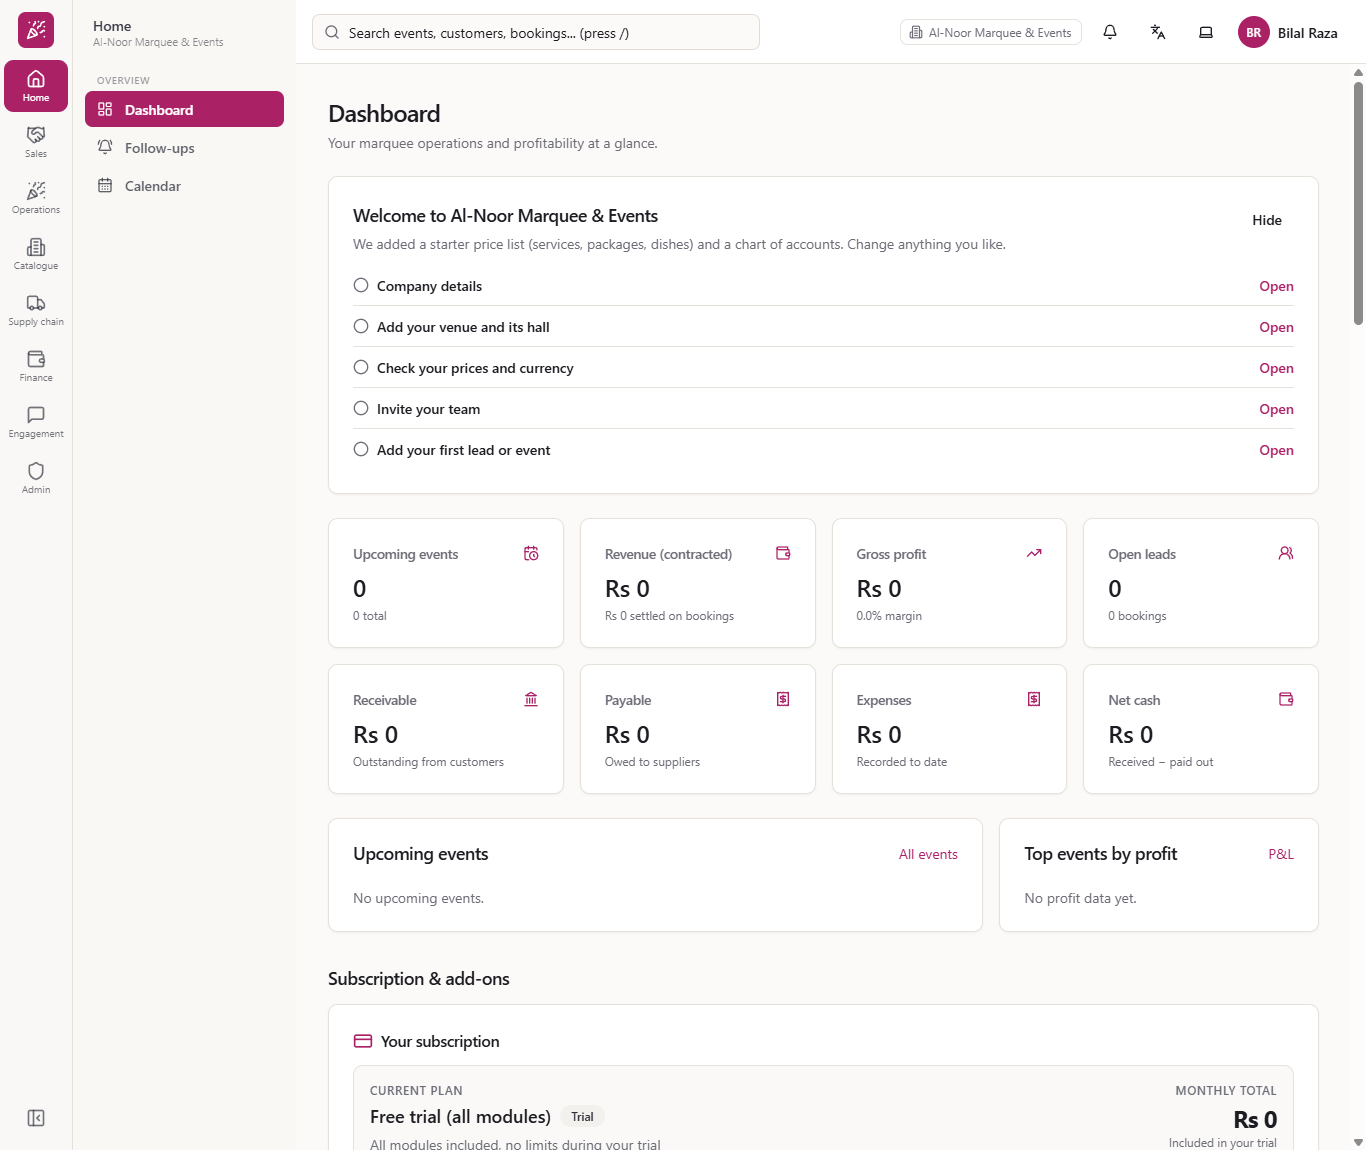
Press Create workspace once. Within a few seconds you are signed in as the administrator and see your dashboard, with your business name in the top bar. A getting-started card lists the first steps: company details, your venue and hall, your prices, your team and your first lead or event. All figures start at zero because you have no events yet. Further down, the Subscription & add-ons card shows Free trial (all modules): every module is included while the trial lasts.
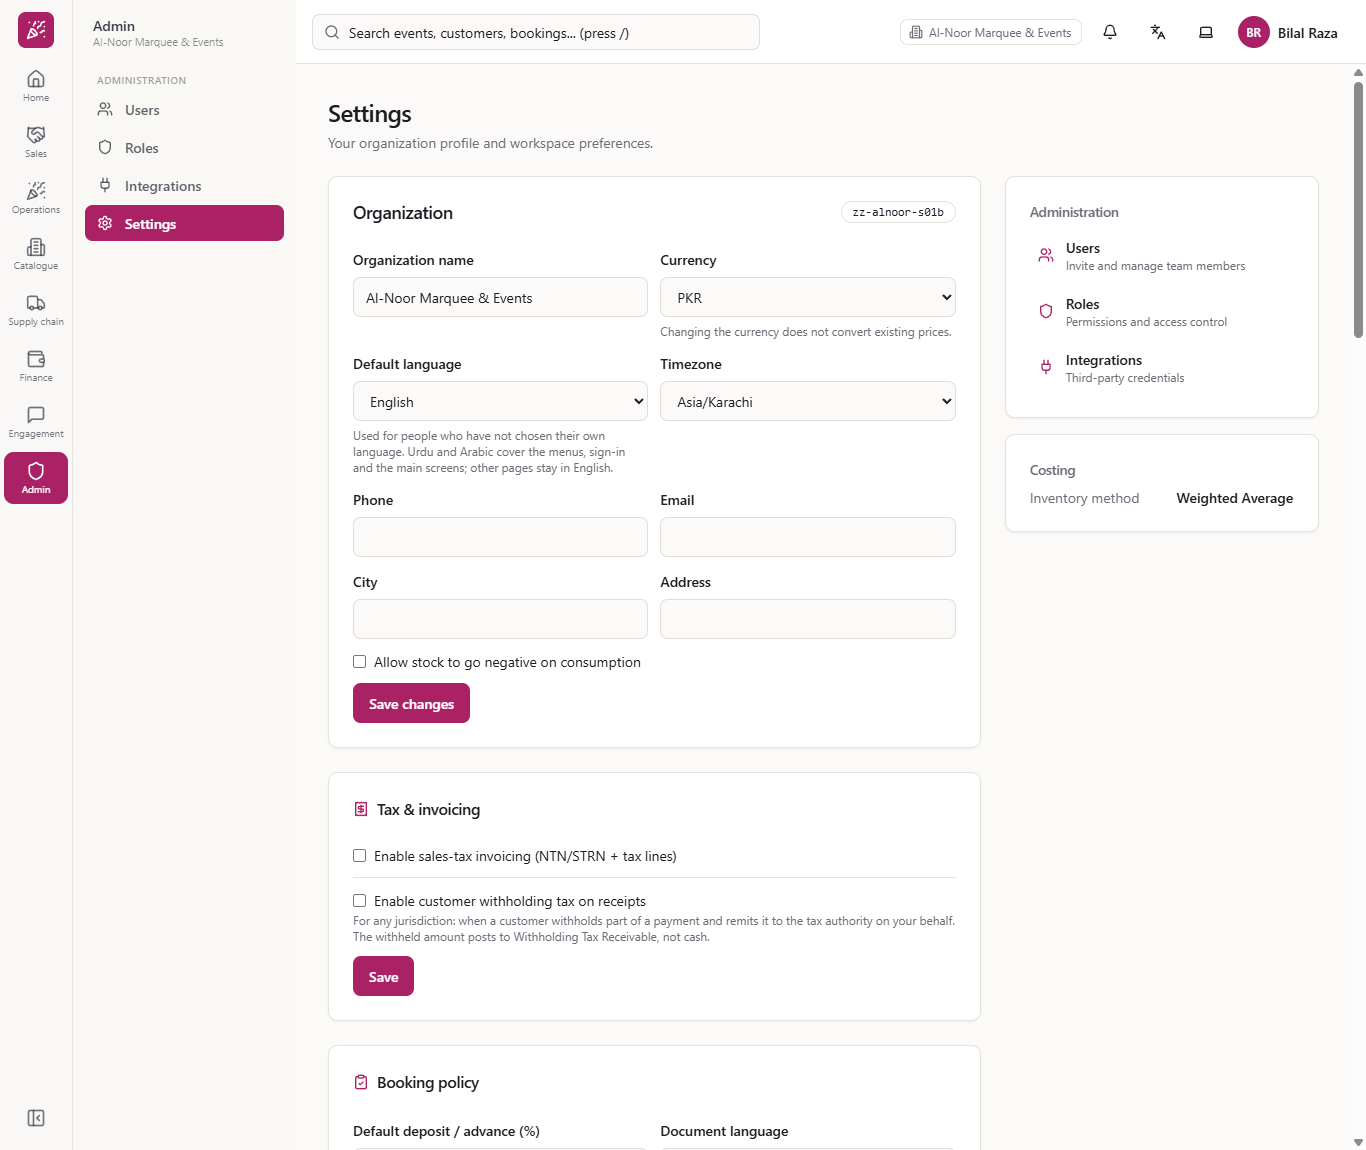
Open Admin, then Settings. Your organization name, currency and time zone are already there. Add your phone, email, city and address so they appear on your documents.
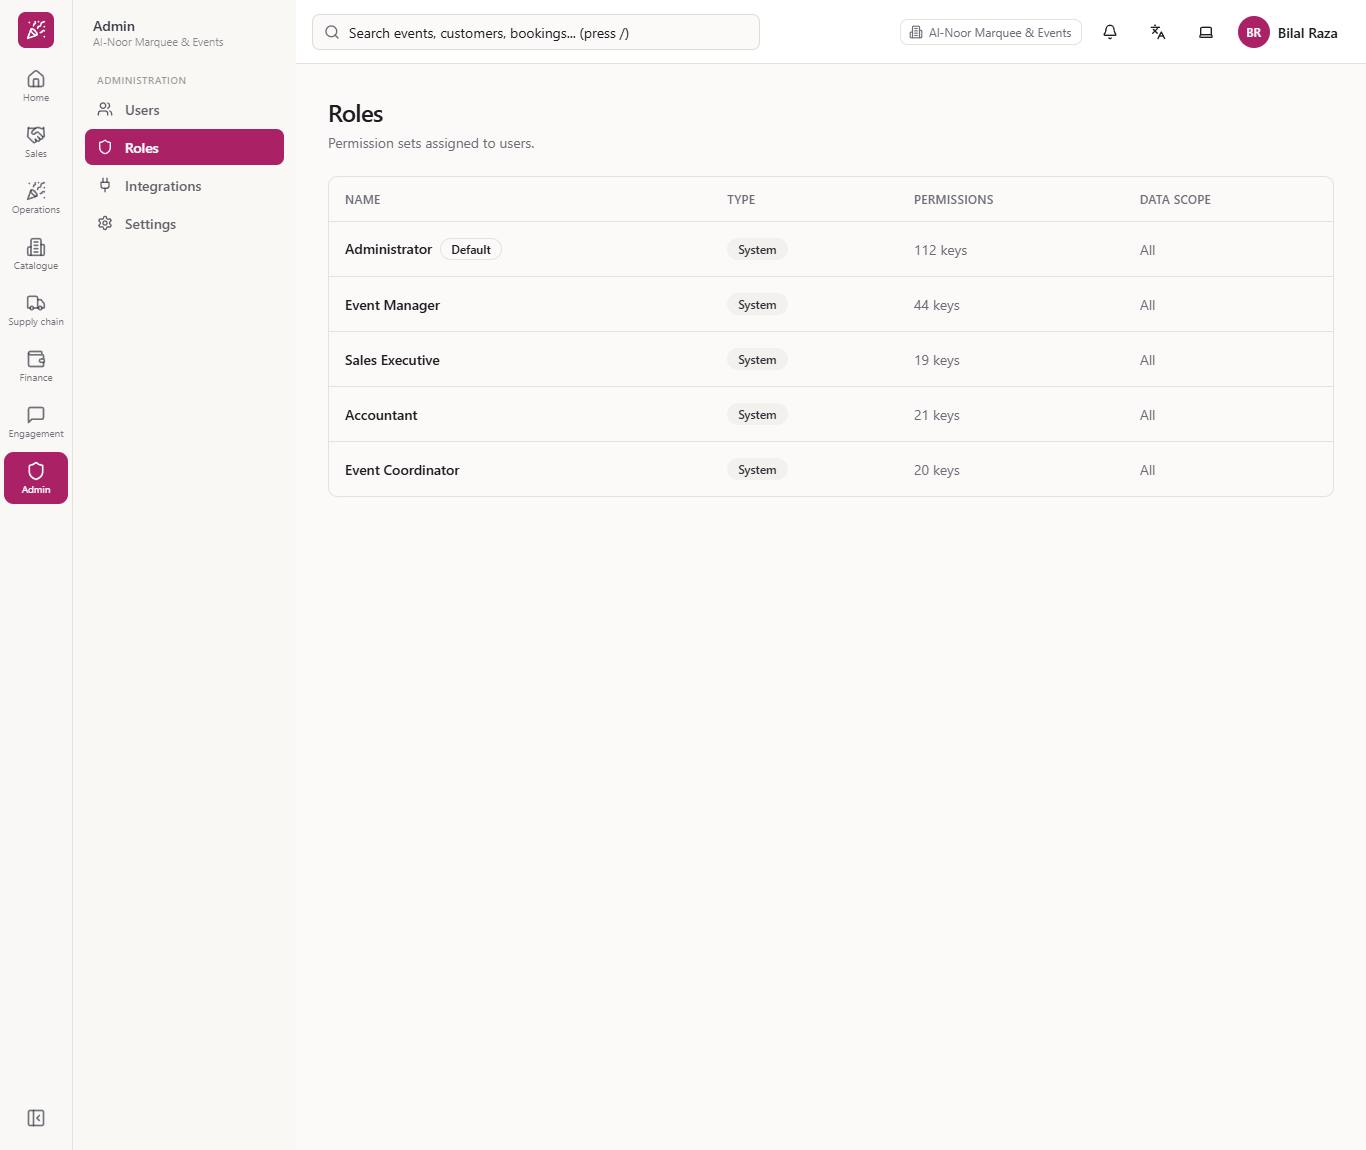
Open Admin, then Roles. Five roles are ready: Administrator, Event Manager, Sales Executive, Accountant and Event Coordinator. Give each team member only the role that matches their job.
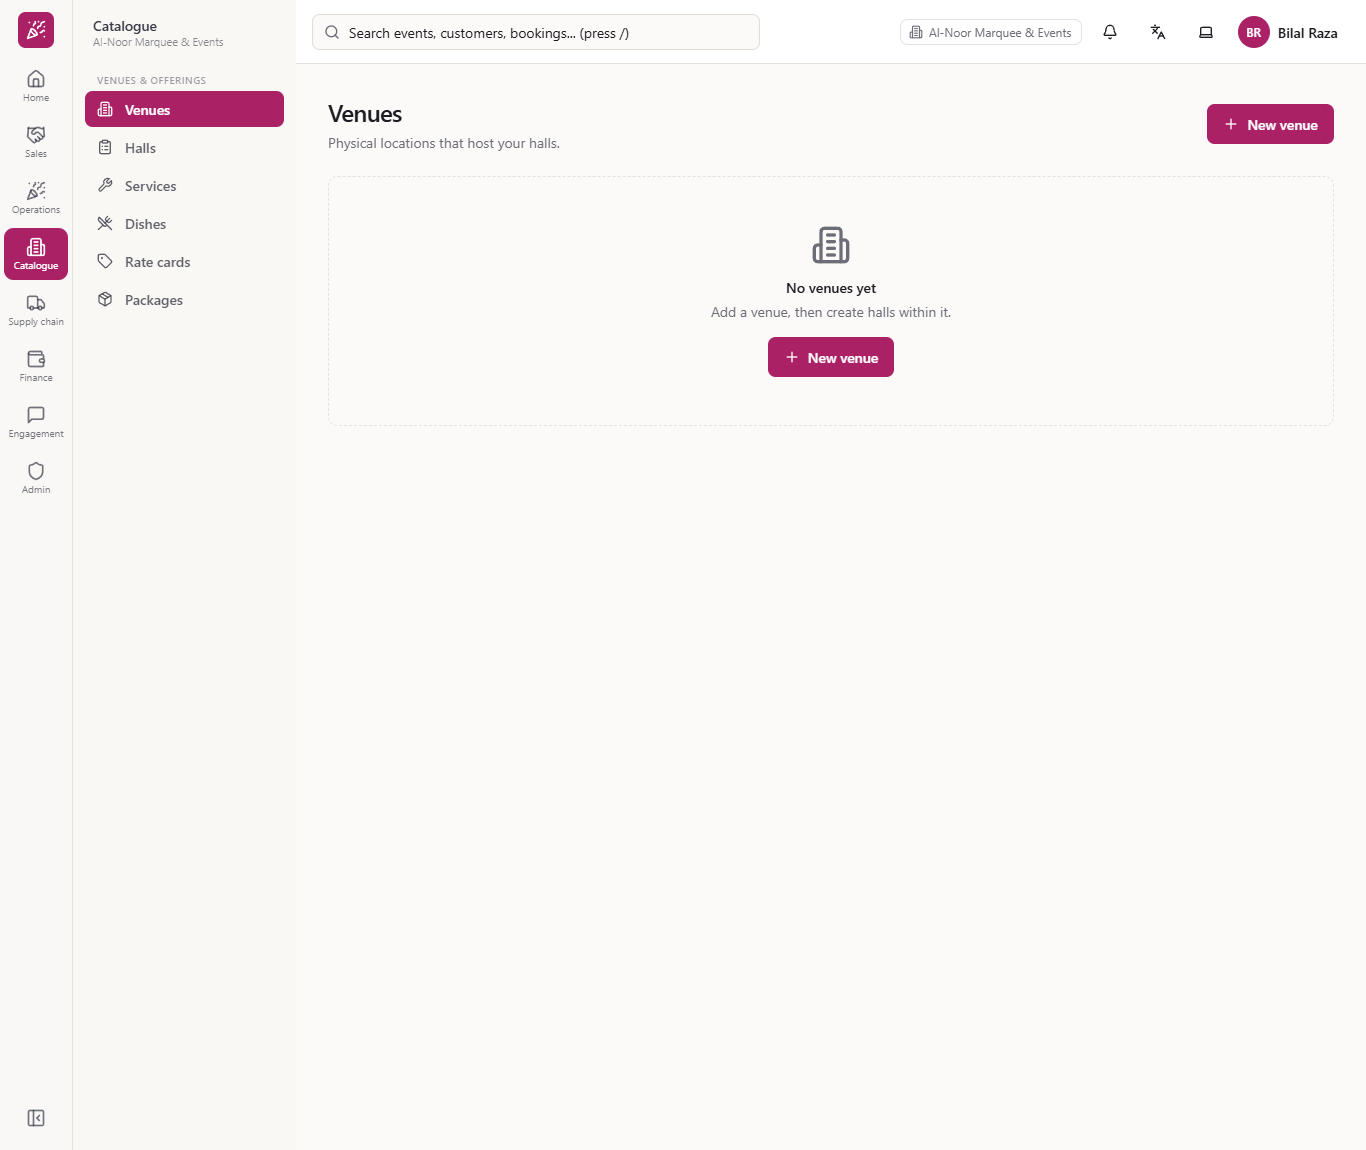
Open Catalogue, then Venues. A new workspace starts with no venue: press New venue and add your own premises, then create its halls. Catering services, dishes and wedding packages are already in your catalogue, so you can edit their prices instead of typing a price list from scratch.
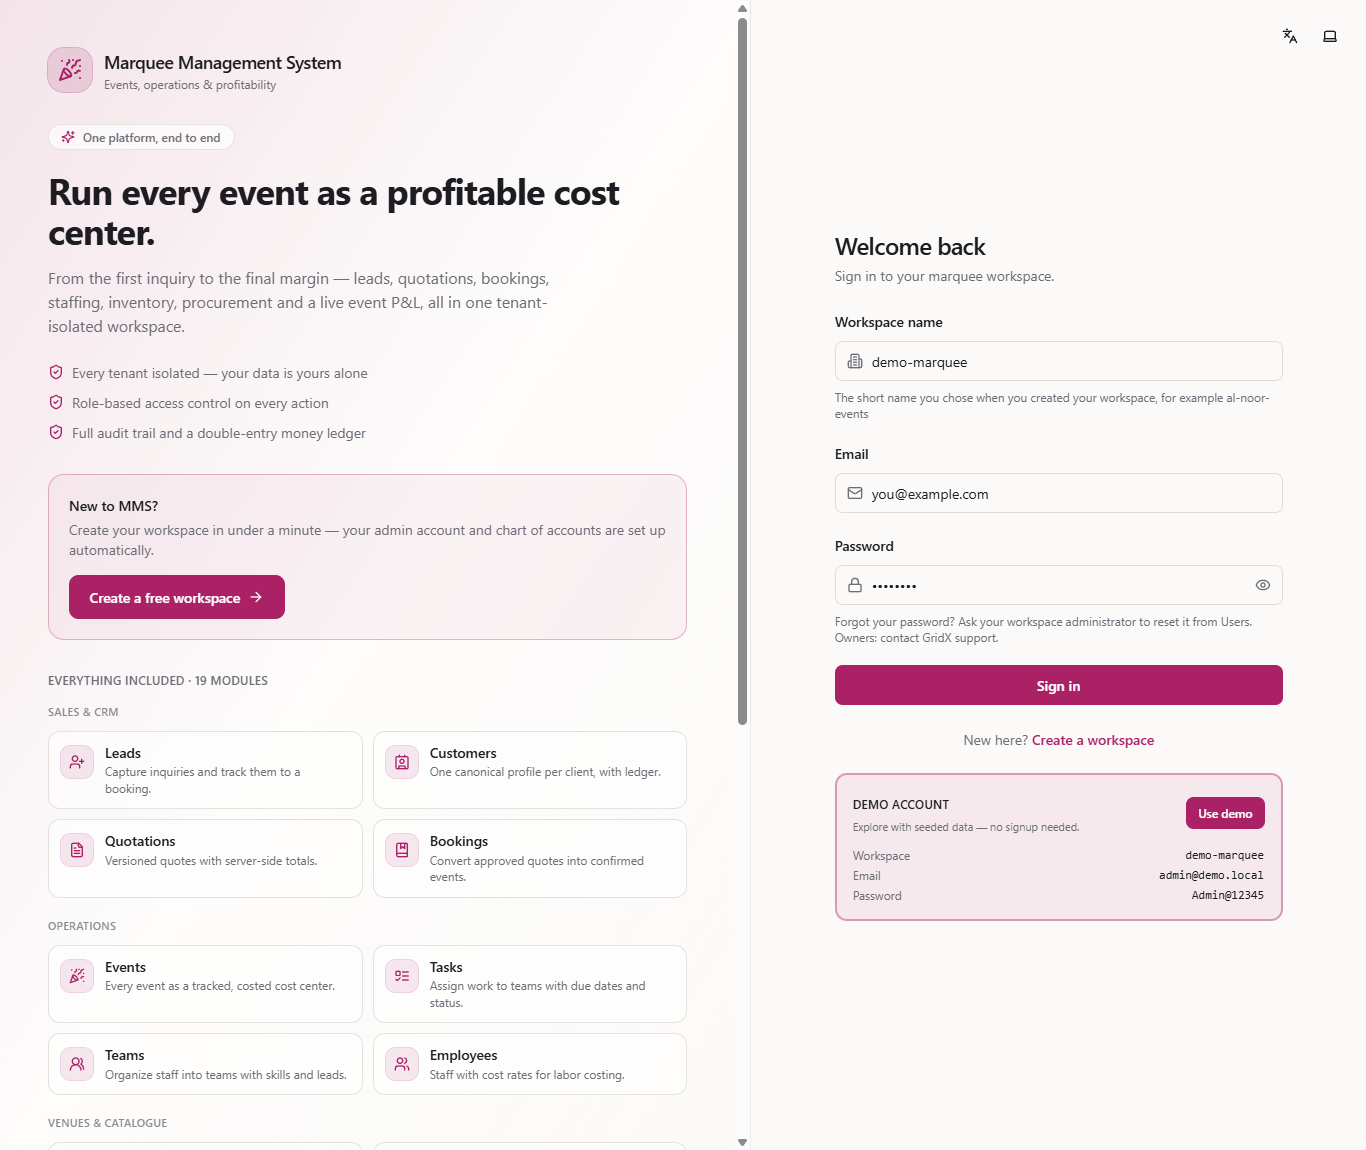
Next time open the sign-in page and type your workspace name, then your email and password, and press Sign in.
| Mistake | What you see | Fix |
|---|---|---|
| Workspace name already used | That workspace name is already taken, with a suggestion | Choose another workspace name or use the suggestion |
| Weak or common password | A red line explaining the password rule | Use 8 or more characters with a letter and a digit, or 12 or more |
| Passwords do not match | The two passwords do not match | Type the same password in both boxes |
| Terms box not ticked | Please accept the terms to create a workspace | Tick the box |
| Business name typed on the sign-in page | Invalid credentials | Type the workspace name instead |
| Item | Meaning / rule |
|---|---|
| Organization name | Your business name, shown in Settings and in the top bar |
| Workspace name | The name you type when you sign in |
| Currency | PKR, USD, AED, GBP, EUR, SAR or INR |
| Time zone | Used for event times; change it later in Settings |
| Trial | Free trial with all modules included |
What do I type in the Workspace name box on the sign-in page? Type the short name you chose when you registered, for example zz-alnoor-s01b.
Can I try the system before registering? Yes. The sign-in page has a demo account card with a Use demo button that fills in a sample workspace.
What does the trial include? Every module and add-on, with no limits on users, venues or events while the trial lasts. The dashboard shows when it ends.
Marquee runs this whole workflow. See what Marquee does and what it costs, or browse all step-by-step guides.