How to create staff roles, invite staff and control what each person can do
You will find a role in your company's list, create a new role with just the permissions it needs, invite a new dispatcher, change their role or add an extra one, deactivate them when they leave and read each change in the audit log.
Who it is forTaxi or fleet operator ownerTime12 minutesProductFMSLevelBeginner
Before you start
Steps
1
Open the roles list
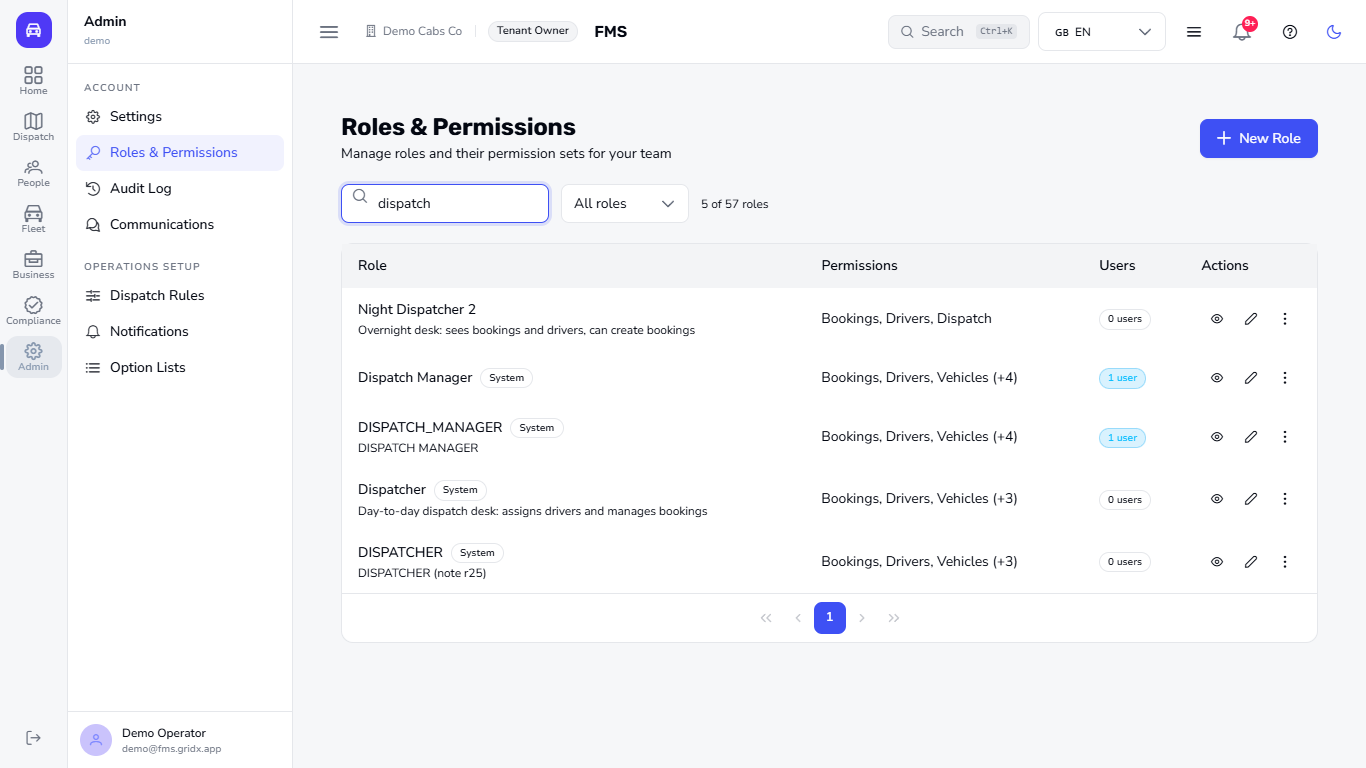
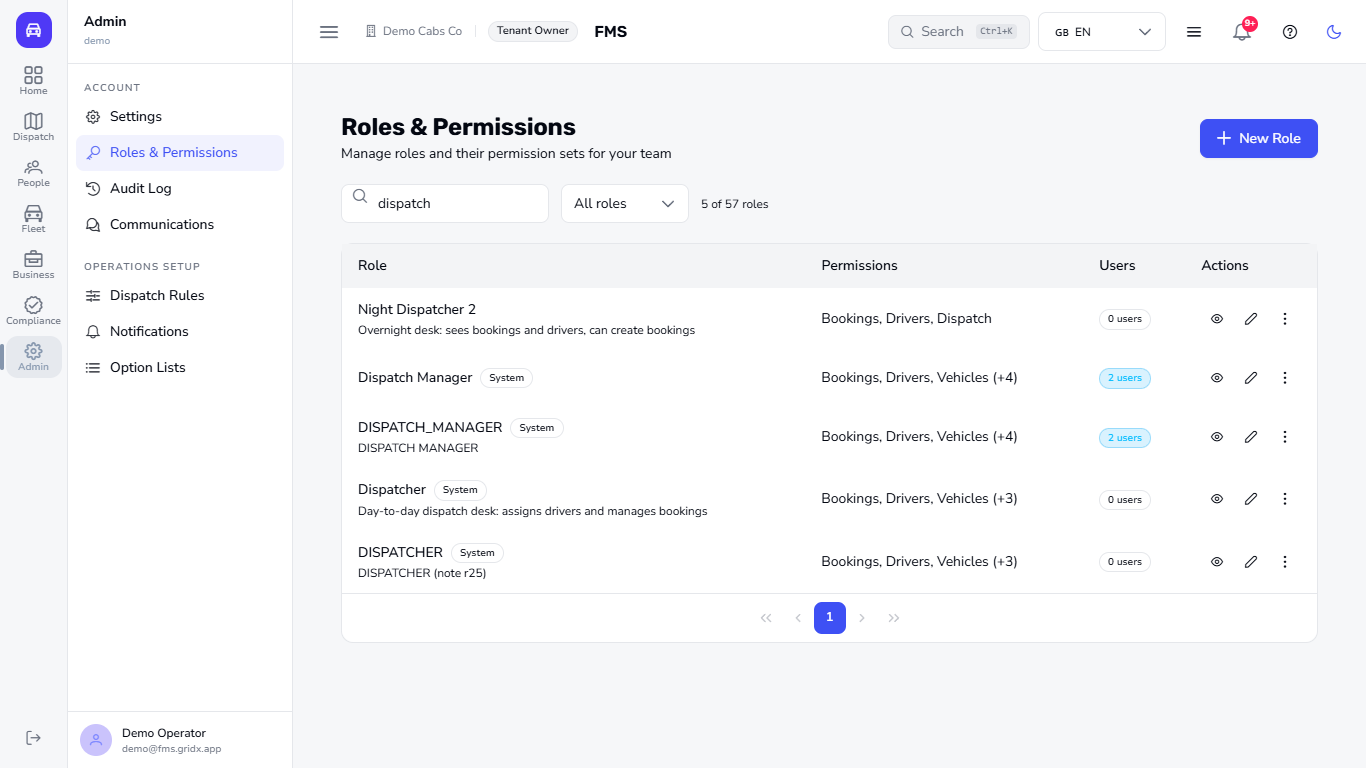
Go to Admin > Roles & Permissions. Each line shows the Role, the areas it covers (Permissions) and how many people hold it (Users: those given the role directly and those whose job role it is). Use Search roles to find a role by name, and the filter to show All roles, Custom roles or only the built-in System roles (they carry a System badge). Twenty roles show per page.
Roles and Permissions list with system roles
2
Create a role
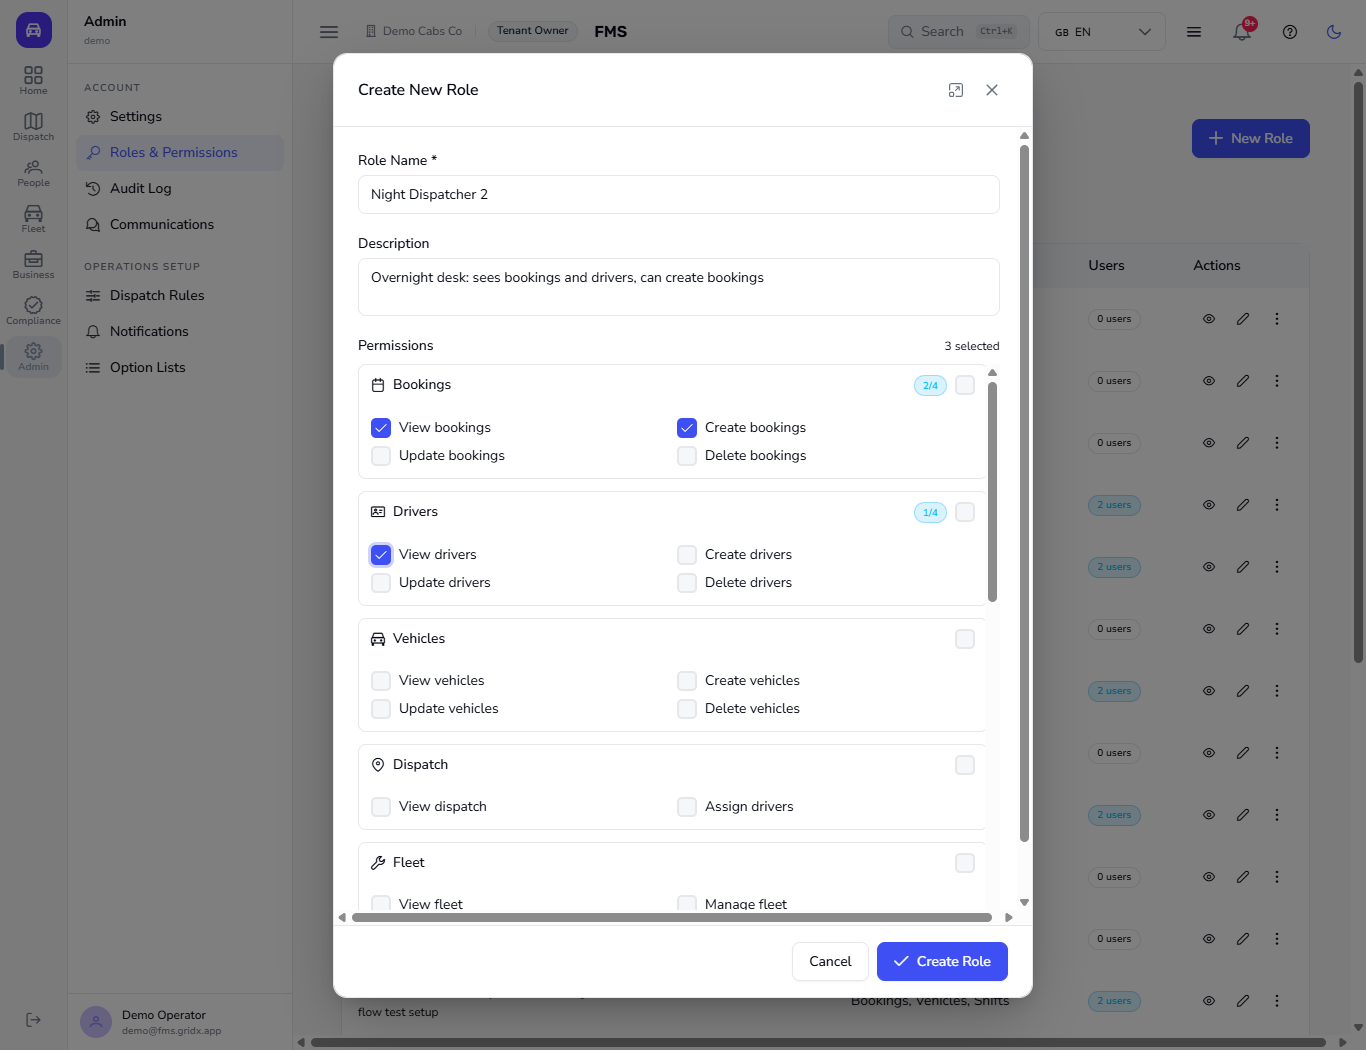
Click New Role. Type a Role Name (for example Night Dispatcher 2) and a Description. Under Permissions tick what the role may do. The permissions are grouped by area (Bookings, Drivers, Vehicles, Dispatch, Fleet, Compliance, Reports, Settings, Contracts, Zones, Shifts, Users, Maintenance); the counter at the top shows how many you picked, and each group box ticks the whole group.
Create New Role dialog with permission groups
3
Save it
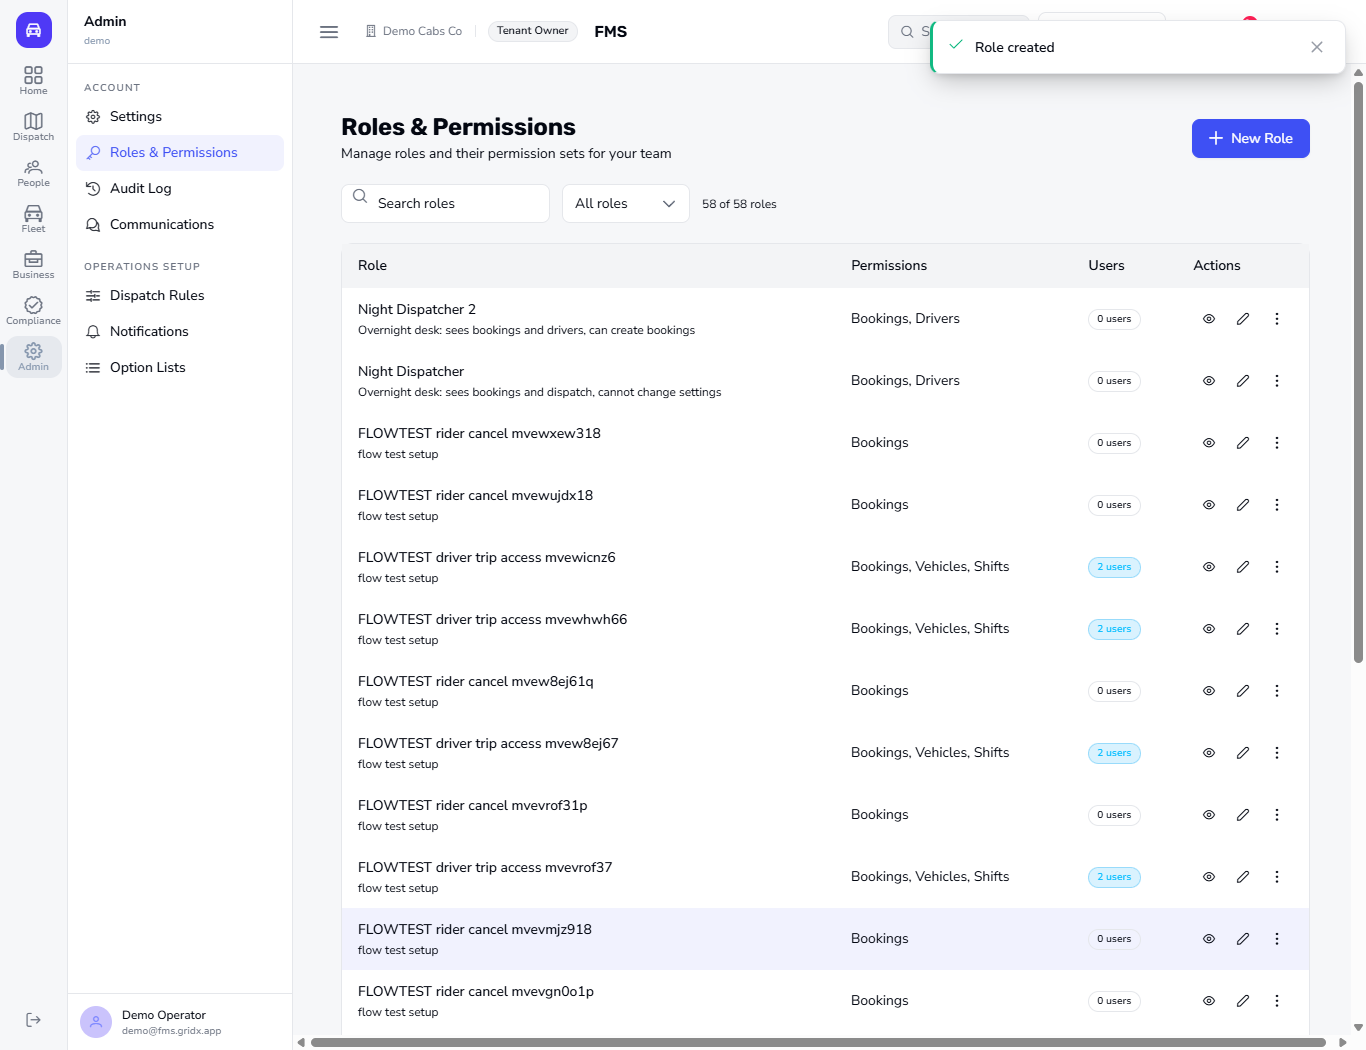
Click Create Role. The message Role created appears and the new role is at the top of the list.
Role created toast and the list
4
Edit your own role
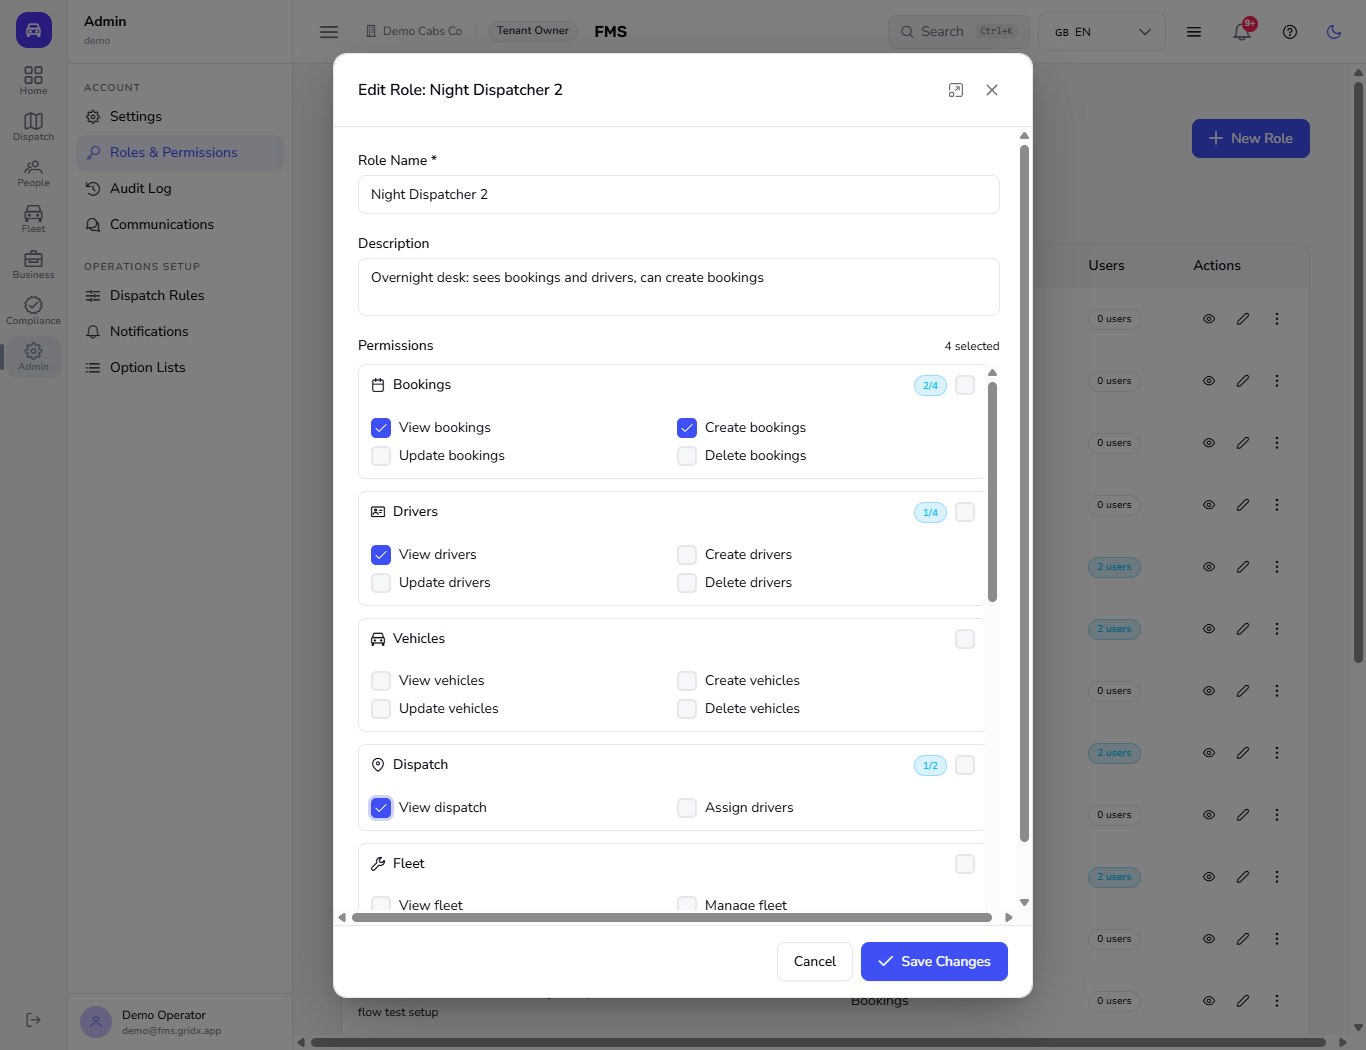
Click the pencil on your role. Change the name, the description or the ticks (for example add View dispatch) and click Save Changes. The message Role updated confirms it.
Edit Role dialog
5
Read a built-in role
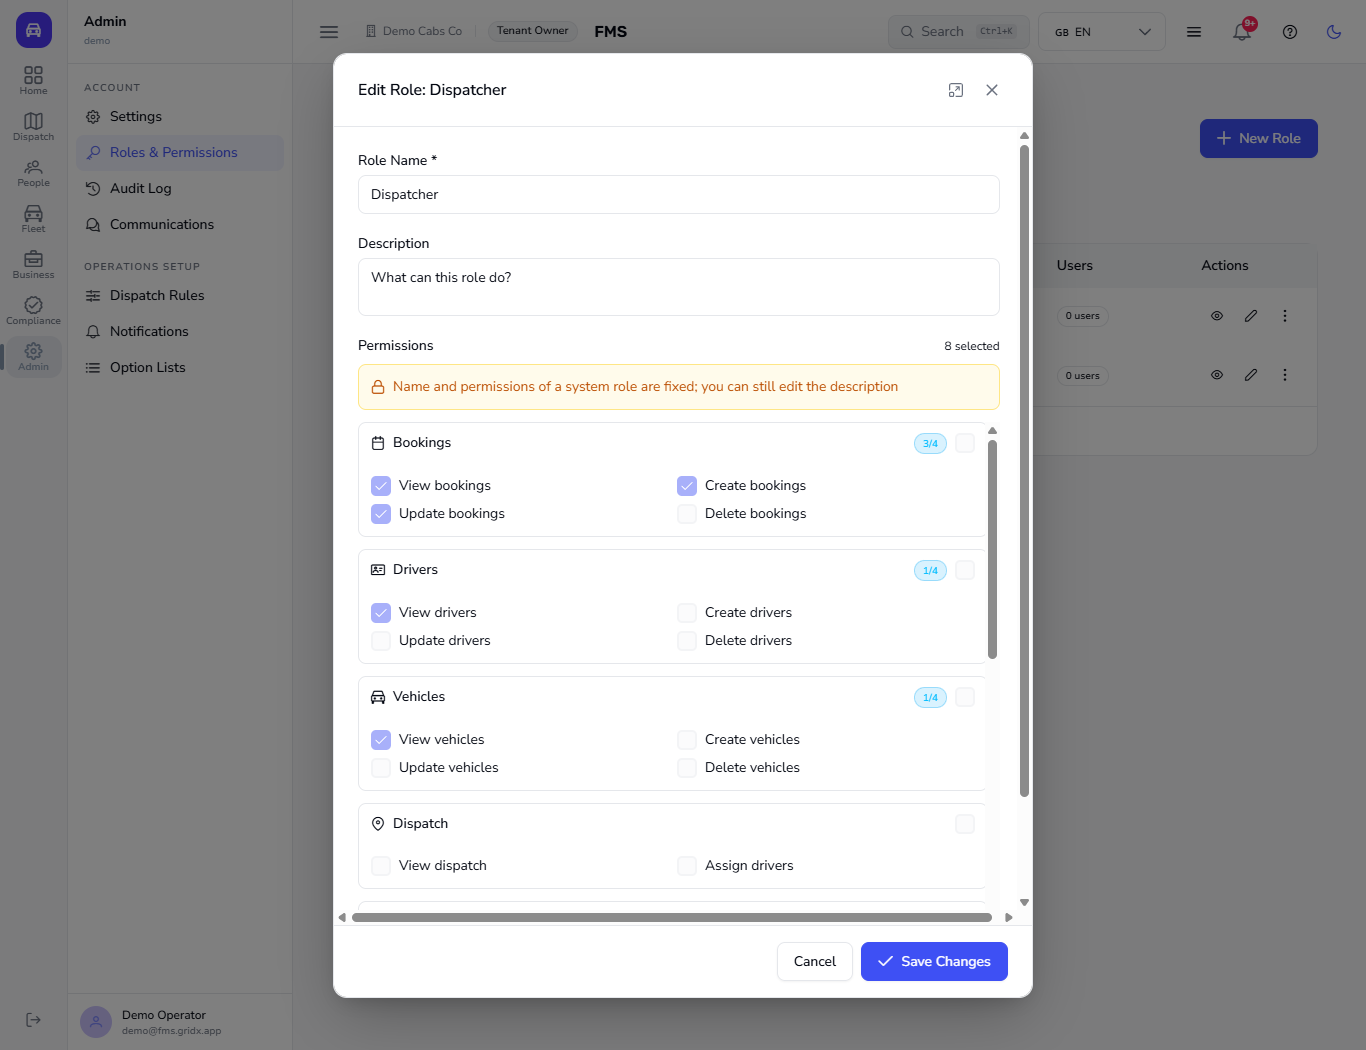
Click the pencil on a System role such as Dispatcher. The banner tells you the name and permissions of a system role are fixed, but you can still edit the description. Type a description and click Save Changes; use the role as it is, or create your own role with the permissions you want.
Edit Role dialog of a system role
6
Delete a role you no longer need
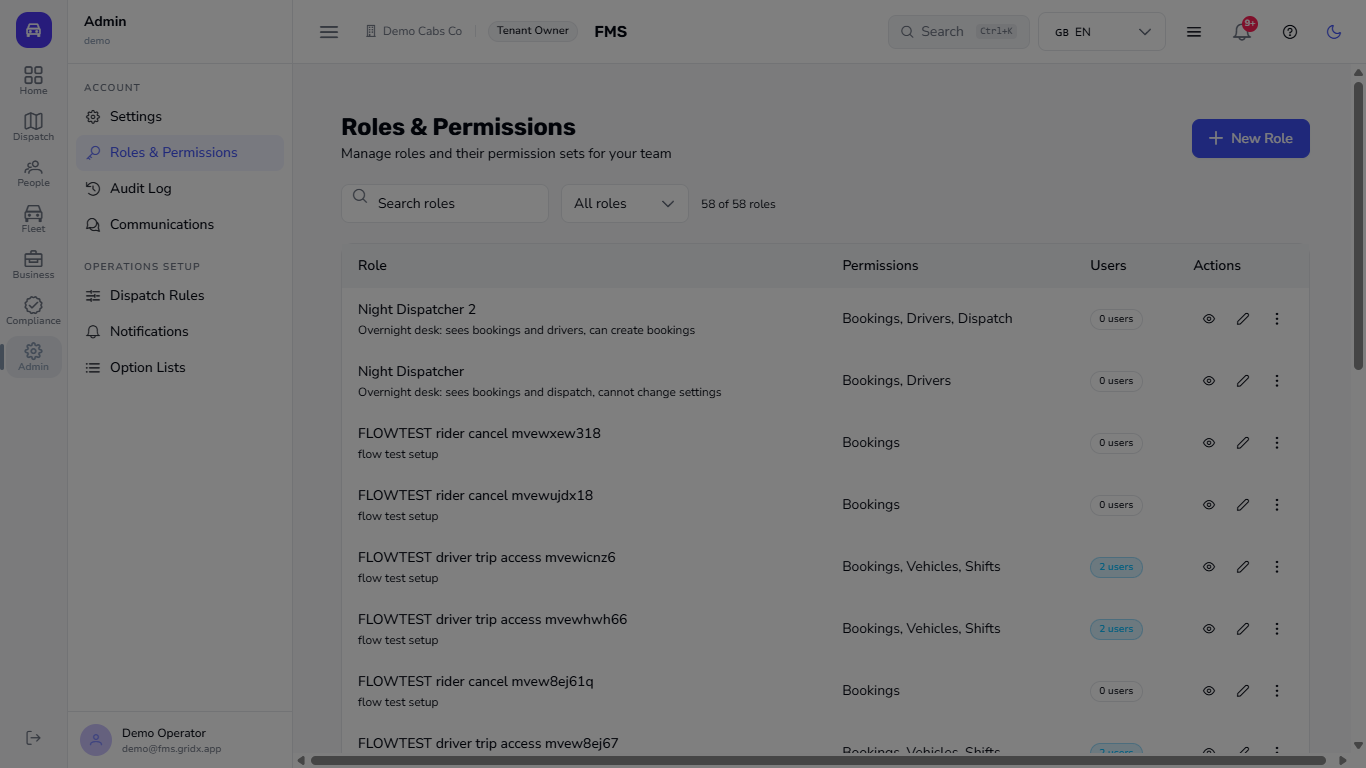
Click the three dots on the role and choose Delete role. One confirmation asks Delete role "..."? Users assigned to this role will lose it. Click Confirm and the message Role deleted appears.
Roles list while the delete confirmation is open
7
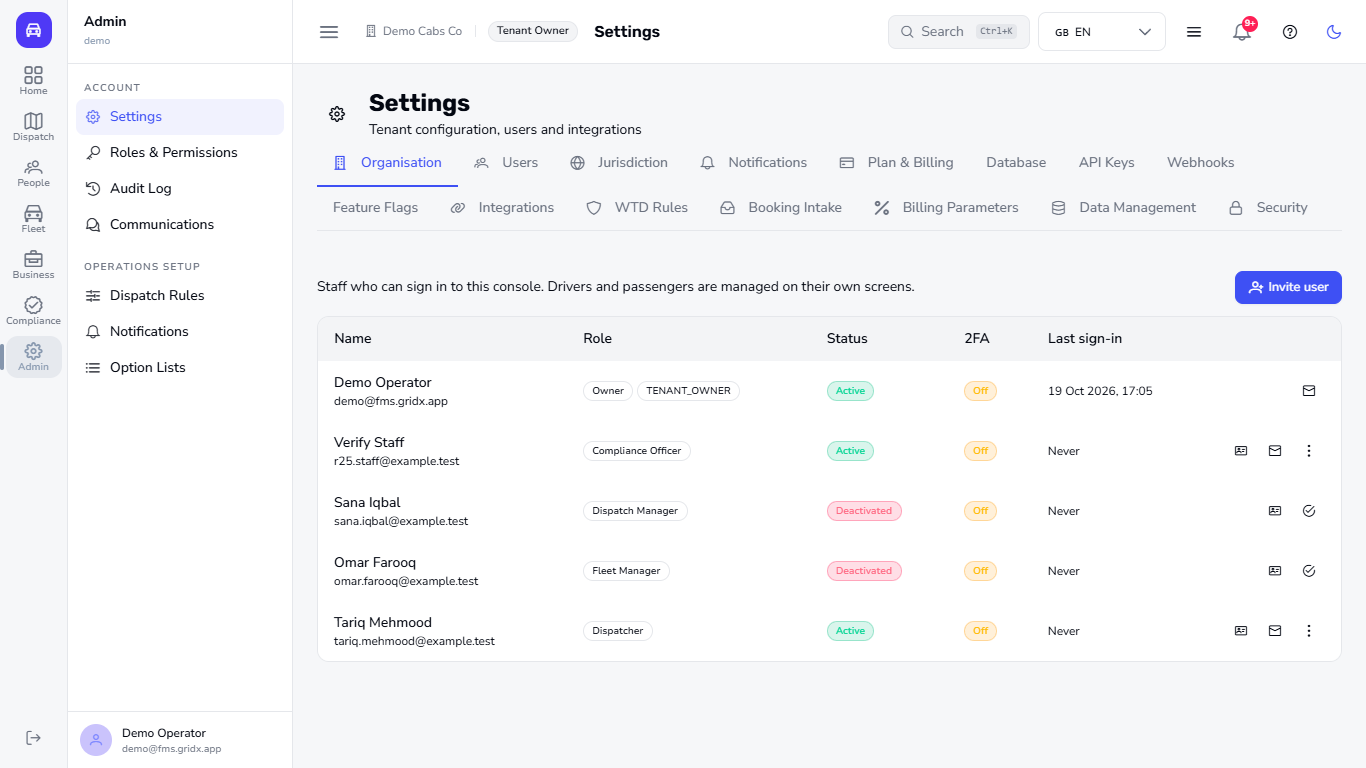
Open the staff list
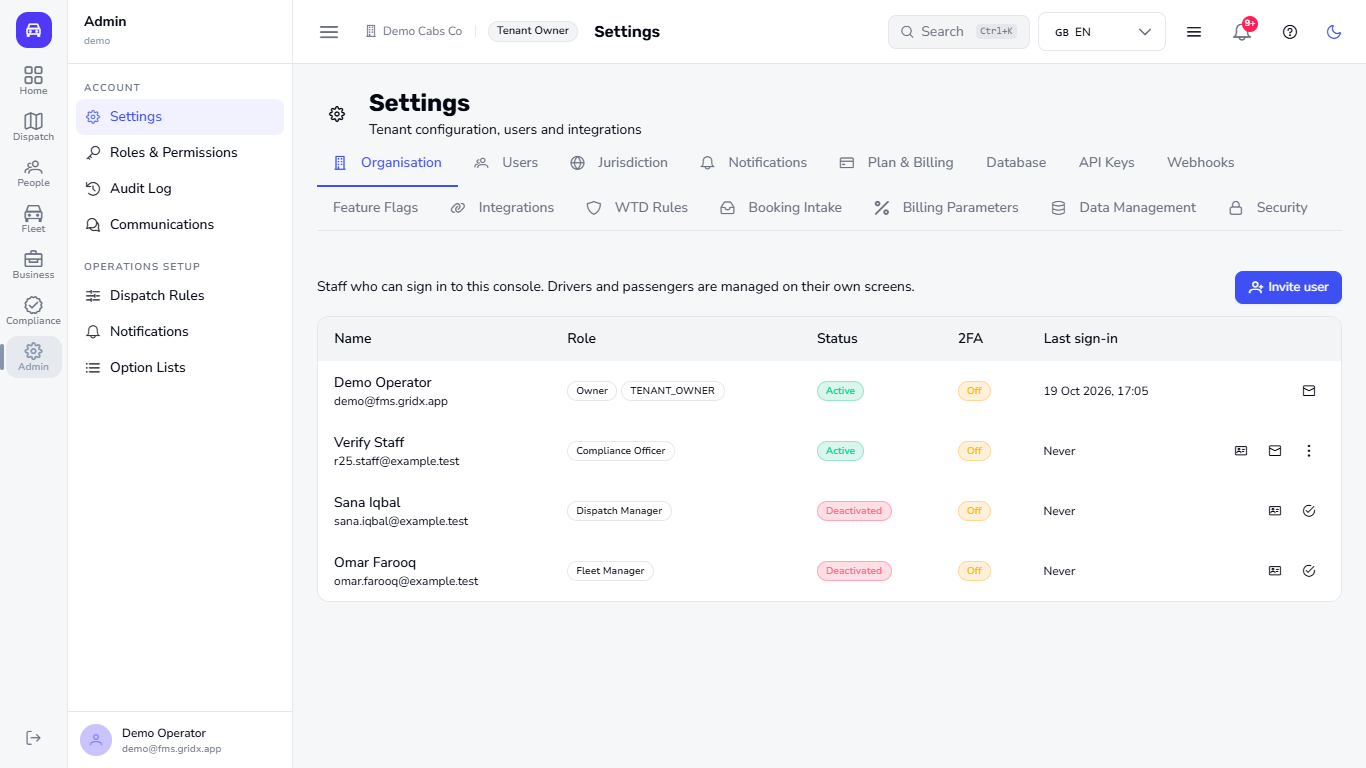
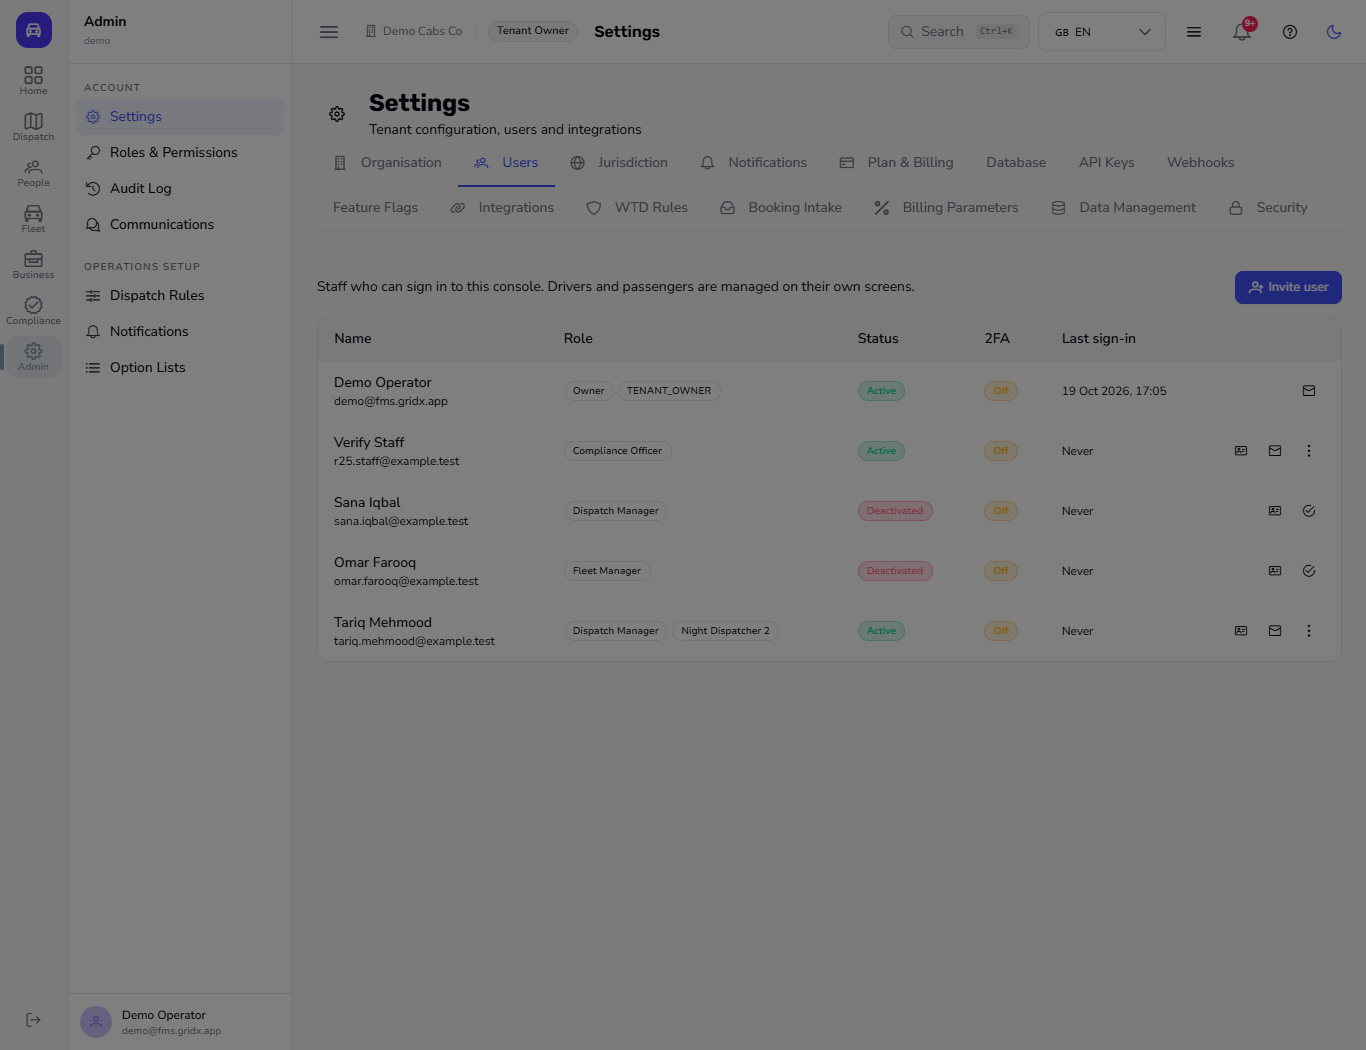
Go to Admin > Settings and open the Users tab. It lists the staff who can sign in to the console with their Role, Status, 2FA and Last sign-in. Drivers and passengers are managed on their own screens.
Settings Users tab
8
Invite a staff user
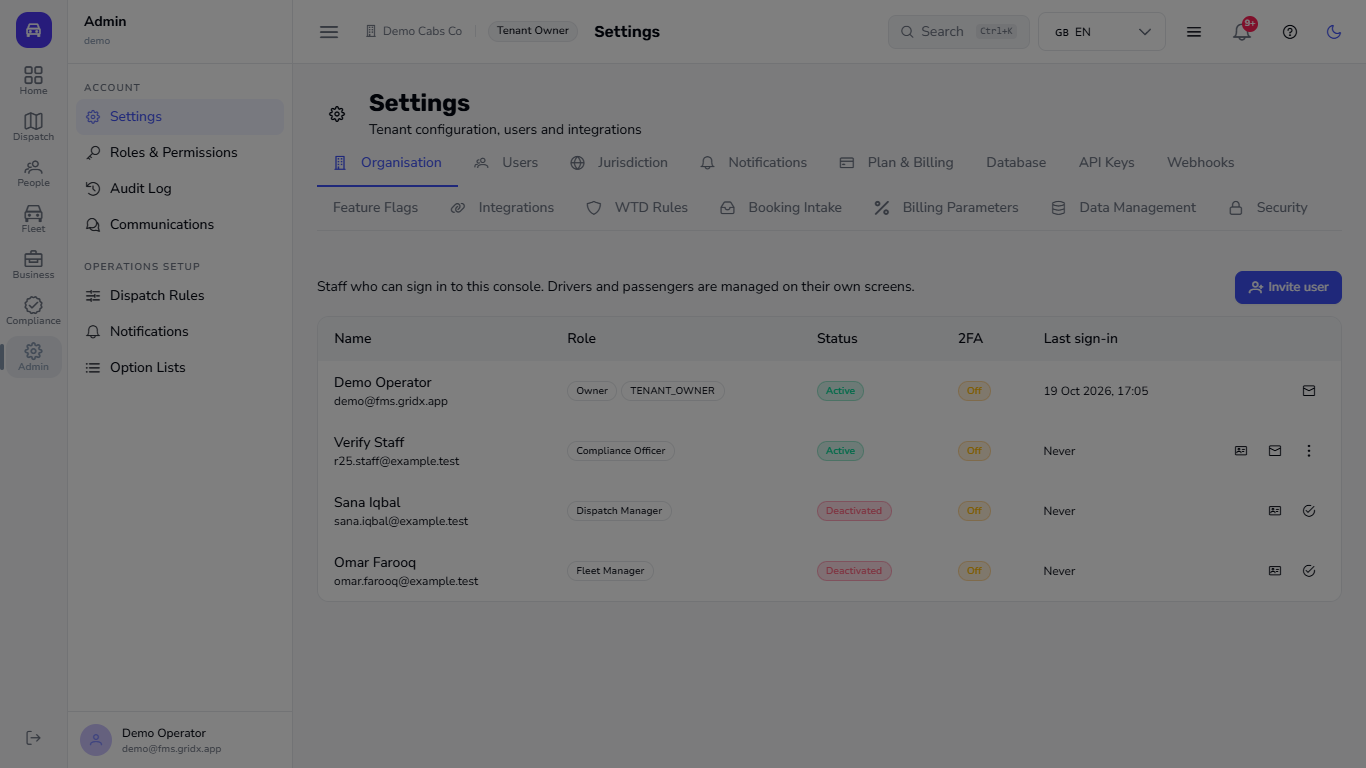
Click Invite user. Enter the First name, Last name and Email, choose the Role (Dispatcher, Dispatch Manager, Fleet Manager, Compliance Officer or Account Manager) and, if you want, an Extra role from your own custom roles. Click Send invite. The invite is meant to give them a link to choose their own password.
Invite user dialog
9
Check the new user
The new person appears in the list as Active, with Last sign-in: Never until they first sign in. If the email could not be sent, the message says so; use Send password link on their row to try again.
The new user in the list
10
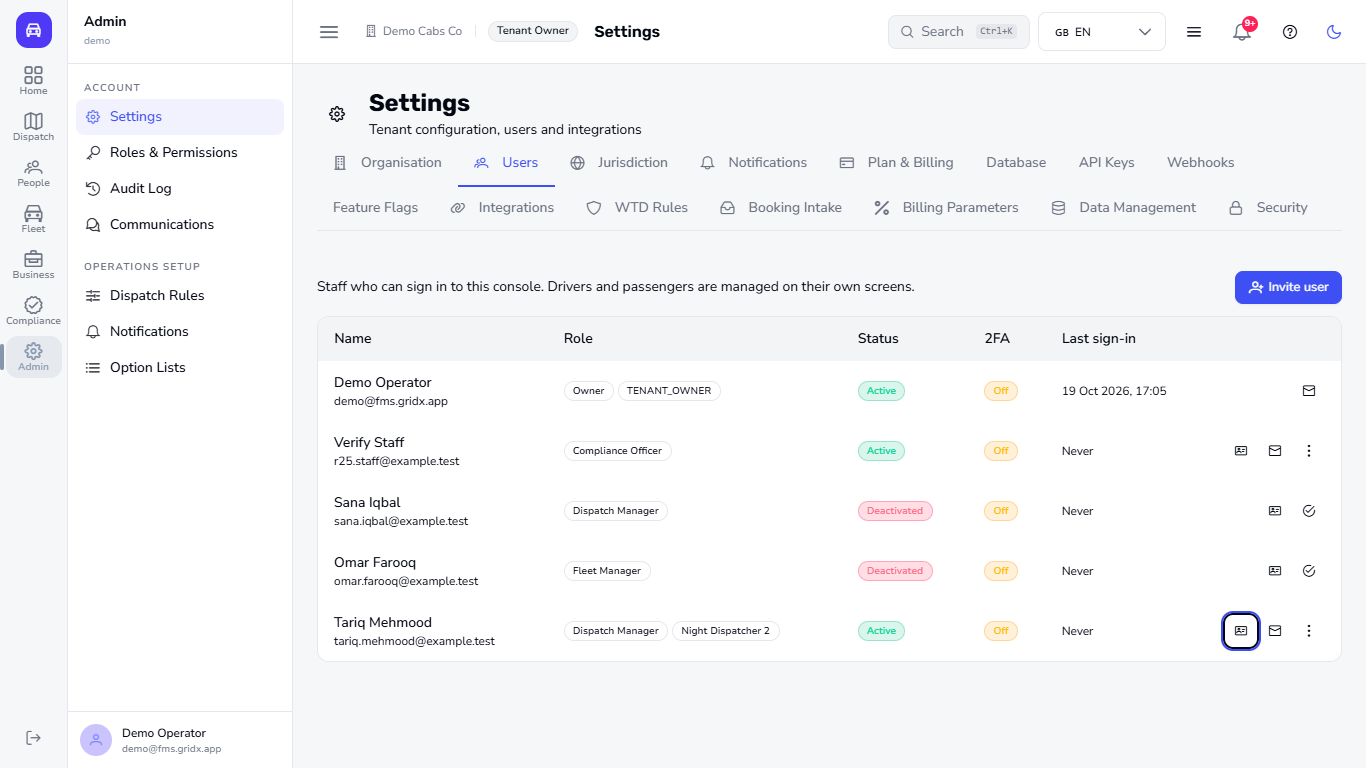
Change their role
Click Change role on their row and pick the new Role. To give them one of your own custom roles on top, open Extra roles (optional), tick it (for example Night Dispatcher 2) and click Save: the message Role changed appears and the role shows as a chip next to their main role. To take it away again, open Change role, untick it and click Save. The new role applies the next time they sign in or their session refreshes.
The row with the main role and the extra role
11
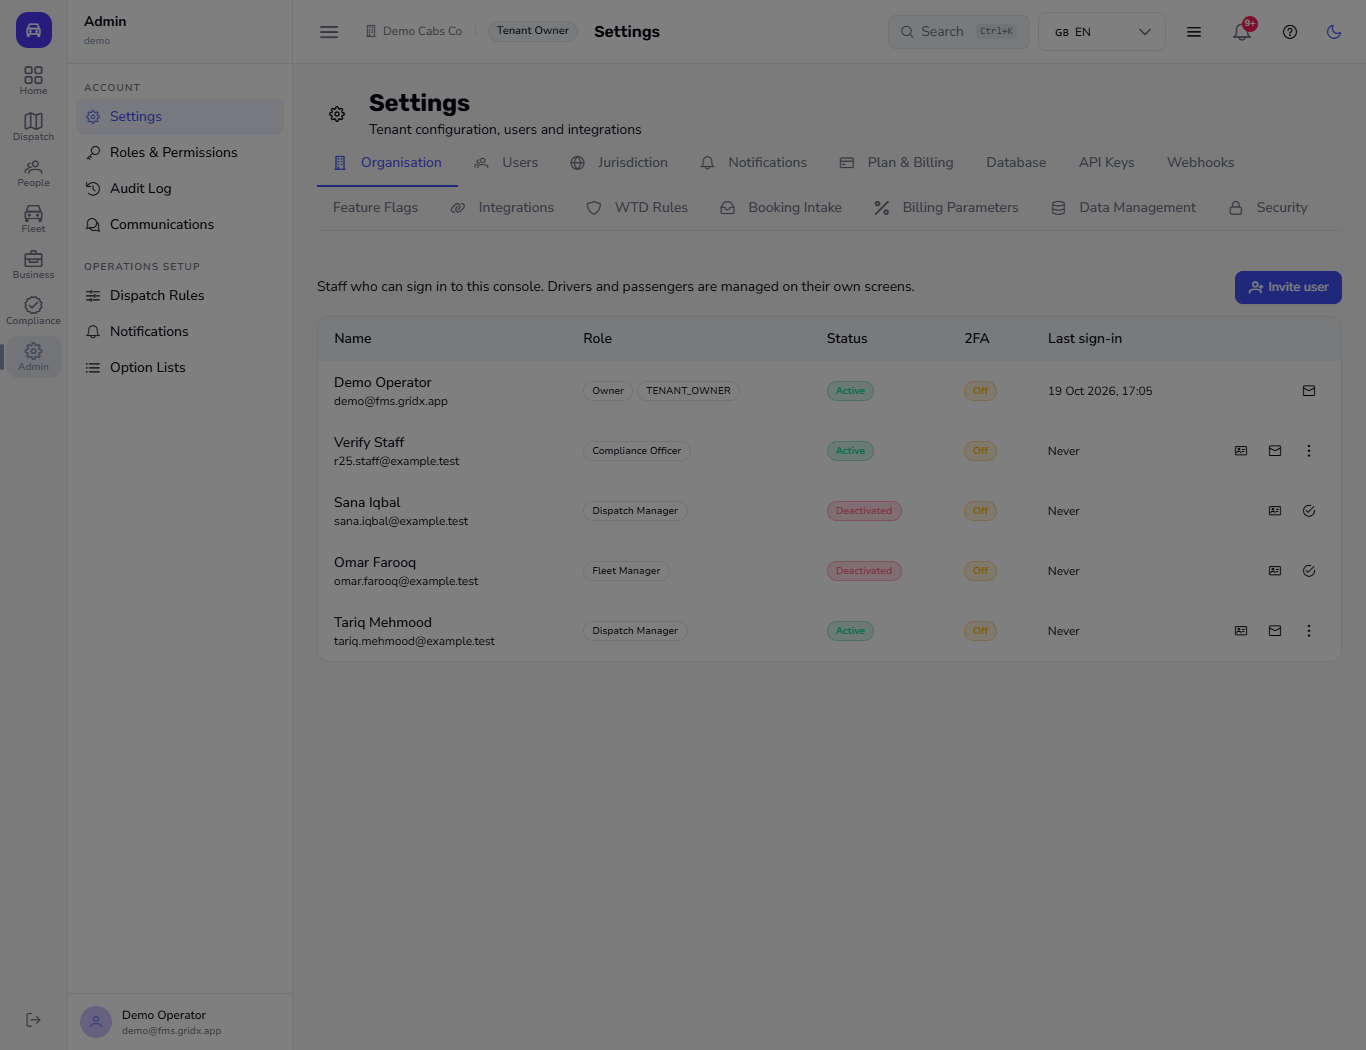
Deactivate someone who leaves
Click the three dots on their row and choose Deactivate, then confirm. They are signed out everywhere and cannot sign in until you click Activate on their row.
Deactivate user confirmation
12
See who holds a role
On the roles list the Users column counts everyone who holds the role, whether it was assigned to them or comes with their job role (for example Dispatch Manager shows 2 users). Click the eye icon on a role: Users in: lists the Name, Email and System Role of each person. A role nobody holds says No users assigned to this role.
Roles list with the number of people per role
13
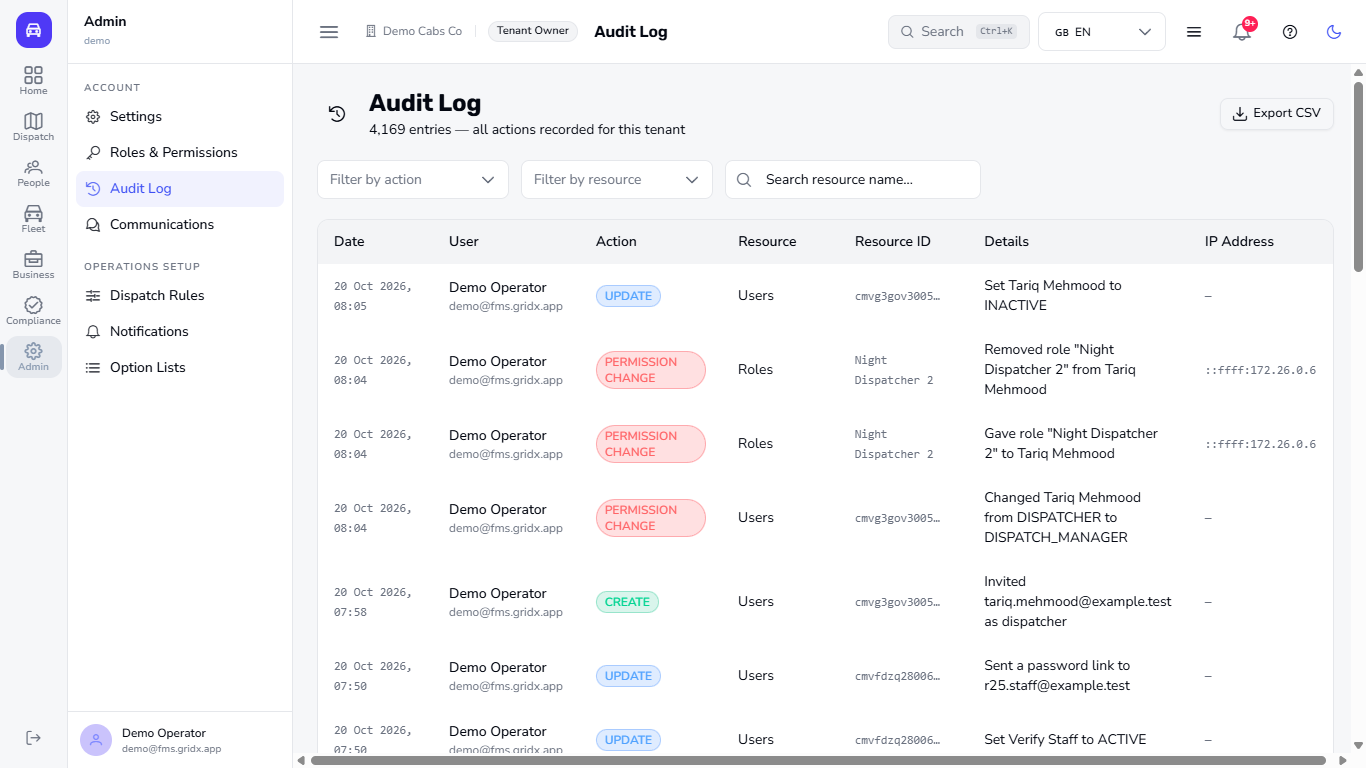
Check the audit log
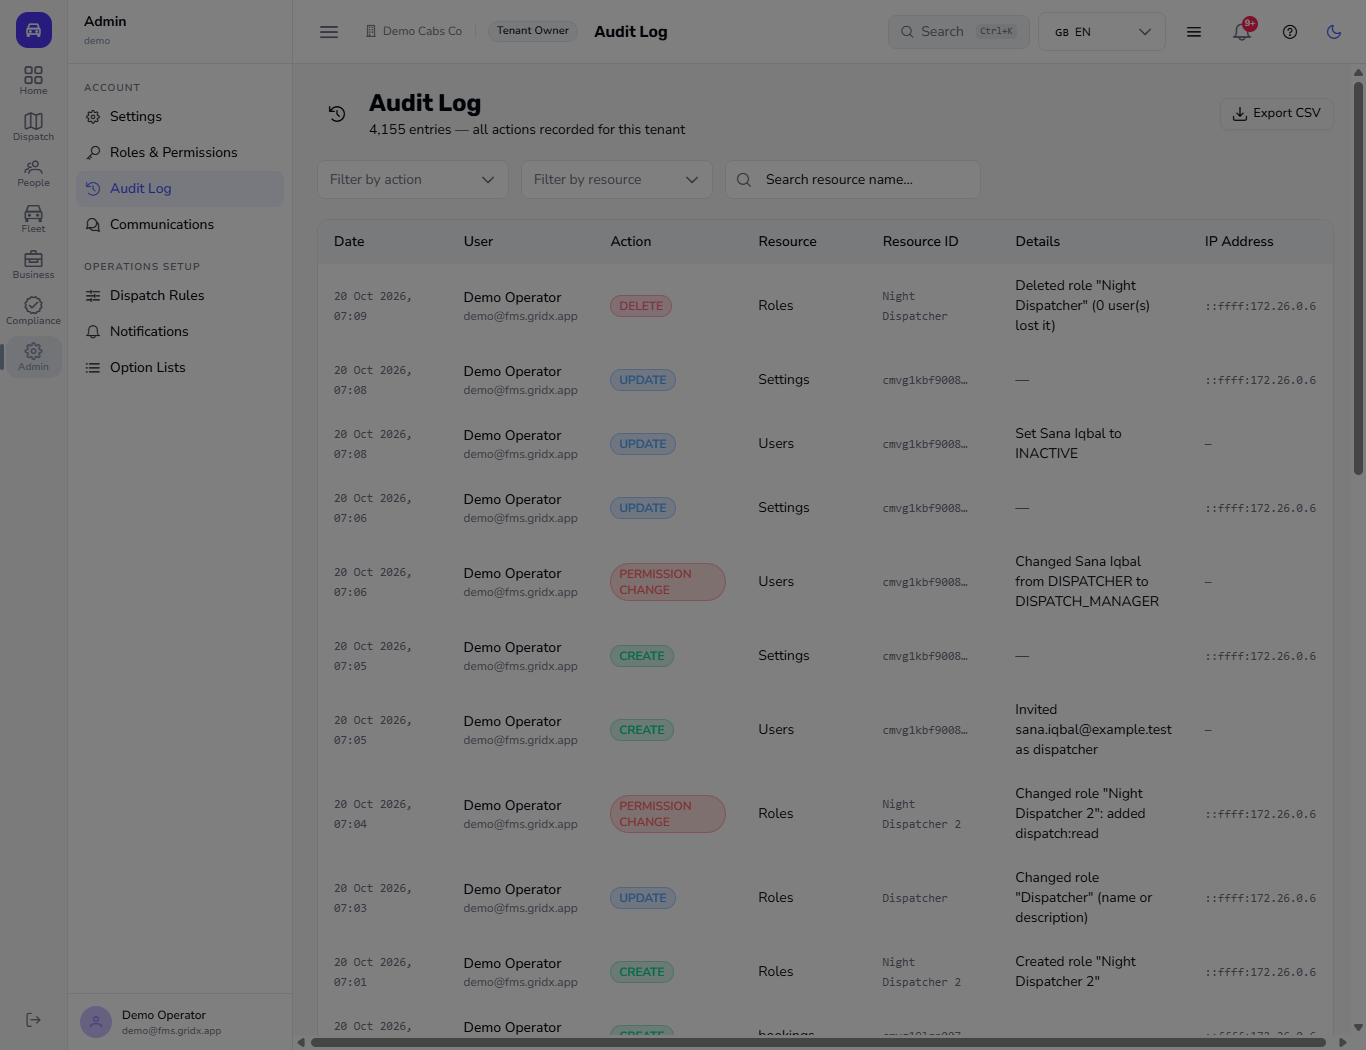
Go to Admin > Audit Log. Each entry shows the date, the User, the Action (CREATE, UPDATE, PERMISSION CHANGE or DELETE), the Resource, the resource and a short Details line such as "Invited ... as dispatcher". Each staff action is written once, so one invite or role change is one clear line. Use Filter by action, Filter by resource or the search box to narrow it, and Export CSV to keep a copy.
Audit Log with the role and user changes
14
Read what exactly changed
Click an entry such as "Changed role ...: added dispatch:read". The Audit entry window shows the permissions Before and After, so you can see exactly what was added or removed.
Audit entry with Before and After
15
Send a password link again
If someone lost their link, click the envelope on their row. A confirmation asks Send a password link to ... ? Click Send link to send it, or Cancel and nothing is sent. The audit log records Sent a password link to the email address.
Send password link confirmation
Check it worked
The new role is in the Roles & Permissions list with the areas you ticked.
The new user is in Settings > Users with the role you chose, and shows Deactivated after step 11.
The audit log shows your name against each change.
Common mistakes
Mistake
What you see
Fix
Role without a name
Create Role stays disabled
Type a Role Name
Trying to change the permissions of a built-in role
The boxes are locked
Create your own role instead
Deleting a role that people still hold
The confirmation warns that they lose it
Change their role first, or accept that they lose it
The invite email did not arrive
The message says it could not be sent
Use Send password link on the person's row (it asks you to confirm first)
Quick reference
Item
Meaning / rule
System role
Built in, name and permissions fixed, description editable
Custom role
Created by you, permissions editable and deletable
Extra role
A custom role added to a person on top of their main role, chosen when you invite them or later with Change role
Deactivate
Signs the person out everywhere until you activate them again
Audit entry
Who, what and when, with the permissions before and after
Frequently asked questions
Can I give a role to a new dispatcher from the console? Yes. Open Settings > Users, click Invite user and choose their role. Later, use Change role to give them another role or add one of your own custom roles on top.
Is every change recorded? Creating, changing and deleting a role, inviting, changing, deactivating a user and sending a password link are written to the Audit Log with who did it and when; role changes also show the permissions before and after.